
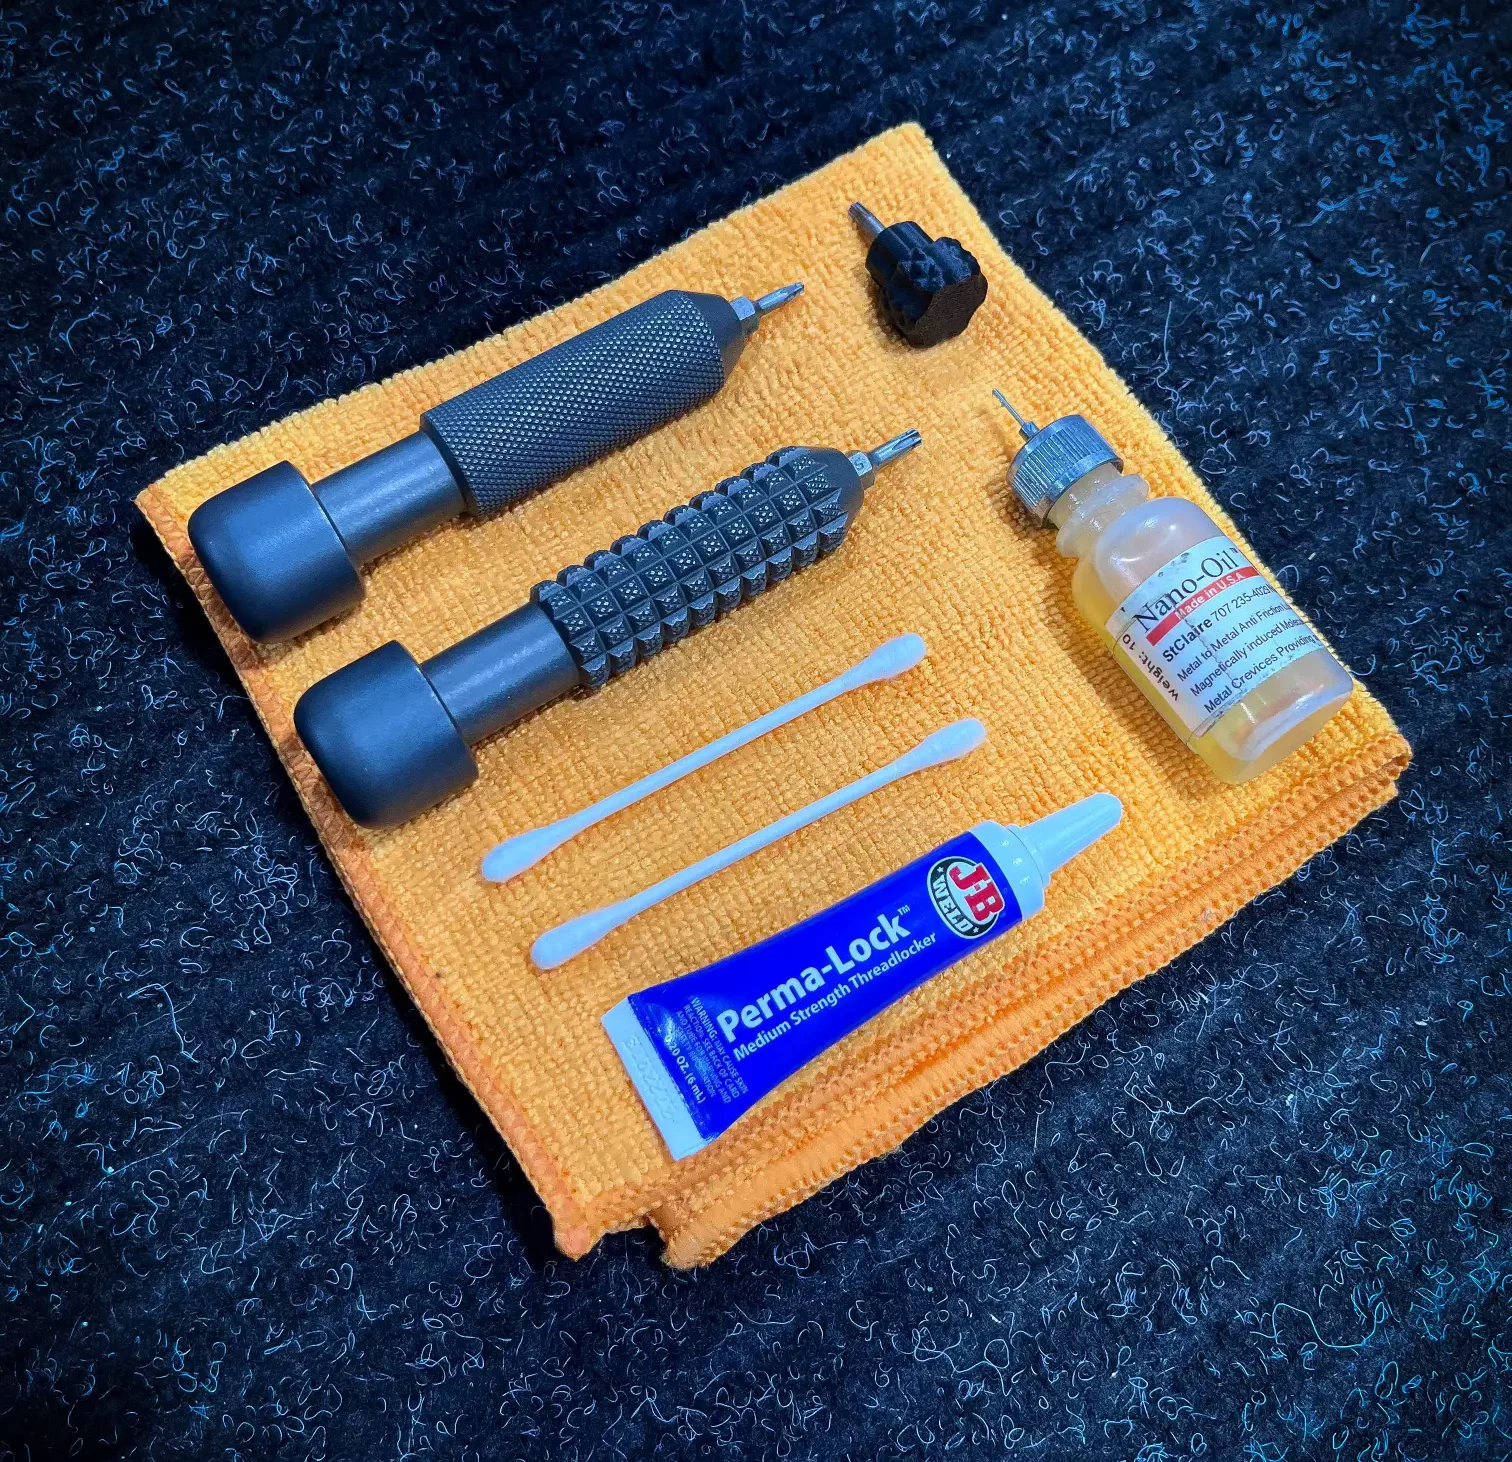
Today I want to share a step-by-step guide on how to maintain and clean your Transient knife for optimal performance and longevity. Proper tear-down maintenance can make a significant difference in how your knife performs, so let’s dive into it.
Click here to skip reading and see these steps in action
Step 1: Gather Your Tools
Before you start, make sure you have the following items ready:
- T15 Torx bit
- T8 Torx bit
- Second T15 driver (for some knives)
- Microfiber towel
- Q-tips (optional)
- Lubricant (e.g., nano oil or knife pivot lube)
- Loctite (blue)

Step 2: Disassembly
Begin by disassembling the pivot. For most knives, start with the show side pivot.
- Use one driver to hold the pivot screw in place while breaking it free from the other side.
- Remove the pivot screw and then use the T8 Torx bit to remove the two backspacer screws.
- Partially open the blade, and if needed, gently remove the show scale.
- Carefully gather the bearings, remove the blade, the stop pin, push the pivot through the other side, and remove the bearings.
Optionally, remove the pocket clip and backspacer.

Step 3: Cleaning
- Remove any debris from within the bearing counterbore and clean the lock face.
- Clean the internal pocketing and stop pin area. Q-tips can be handy for tight spots.
- Inspect the blade, paying attention to the stop pin track and pivot hole.
- Remove any lint or debris.
- Clean the show side, including internal pocketing, stop pin hole, and bearing counterbore.


Step 4: Reassembly
Reassemble the backspacer and pocket clip if you removed them.
- Reinsert the pivot into the pivot hole.
- Place the stop pin back in one side of the bearings.
- Apply a small amount of lubricant to the bearings and a line on the pivot.
- Add two small drops of lubricant on the detent track (4 o’clock and 7 o’clock positions).
- Reattach the blade to the pivot, then add lubrication to the other bearing while spinning it onto the pivot.
- Reassemble the show side frame, stop pin, and pivot.
- Apply a small amount of blue Loctite to the pivot screw, then tighten it down snugly but not overly tight.
- Replace the backspacer screws.
- Test the blade for centering and blade play, adjusting the pivot tension as needed.
- Tighten the pivot screw until everything is smooth but not too tight.

Step 5: Allow Loctite to Set
- Give your knife some time for the Loctite to set up, typically a few hours, before extensive use.

That’s it!
You’ve successfully performed tear-down maintenance on your folding knife. Remember that regular maintenance can significantly extend your knife’s lifespan and keep it performing at its best. If you have any questions or need further assistance, feel free to reach out.If you do not trust your self to perform this you can always purchase a knife spa from the shop.
Until next time,
Jim V